

Laser Cleaning Sample Tests: What to Send and How to Compare Results
A practical checklist for laser-cleaning trials: representative samples, finish requirements, recorded settings, full-cycle timing and operating conditions.
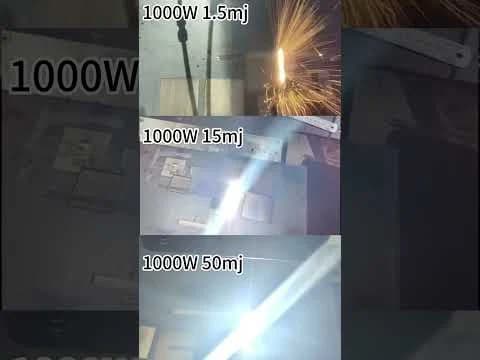
A short cleaning video can show that a laser removes a particular surface layer. It cannot, by itself, tell you whether the same machine will meet your finish, cycle-time and operating requirements. Before selecting equipment, define a sample test around your own workpiece and the operation that comes next. The aim is a usable comparison, rather than the most dramatic demonstration.
Start with a representative workpiece
Provide the base material, approximate thickness, part dimensions and any features that must remain unchanged. Describe the surface layer separately: rust, oxide, paint, oil and combinations of these are different problems. Include coating information and its safety data sheet when available. If the material or coating is unknown, identify that uncertainty before planning removal.
A useful sample includes typical contamination and the difficult areas you expect in service. Photograph the surface before cleaning and identify edges, recesses or thin sections that deserve separate evaluation. An easily accessible flat coupon may be useful for an initial comparison, but it does not establish access or handling time for a complete component.
Define what an acceptable result means
Write down the next operation. A part being prepared for repainting may have different requirements from one being cleaned before welding or inspected for surface condition. Ask which characteristics actually need checking: residual coating, visible discoloration, dimensional features, surface texture or the performance of the next process. Agree on the assessment method before comparing machines.
Do not turn a photograph of bright metal into a universal cleanliness specification. Instrumented surface assessment may be relevant for demanding applications, but the appropriate method and acceptance limits belong to the actual production requirement. Laserax describes contact-angle and fluorescence measurements as examples in its metal-contaminant cleaning guidance; these are references, not a claim that JSY has performed those tests on your parts.
Record the setup, not just the rated power
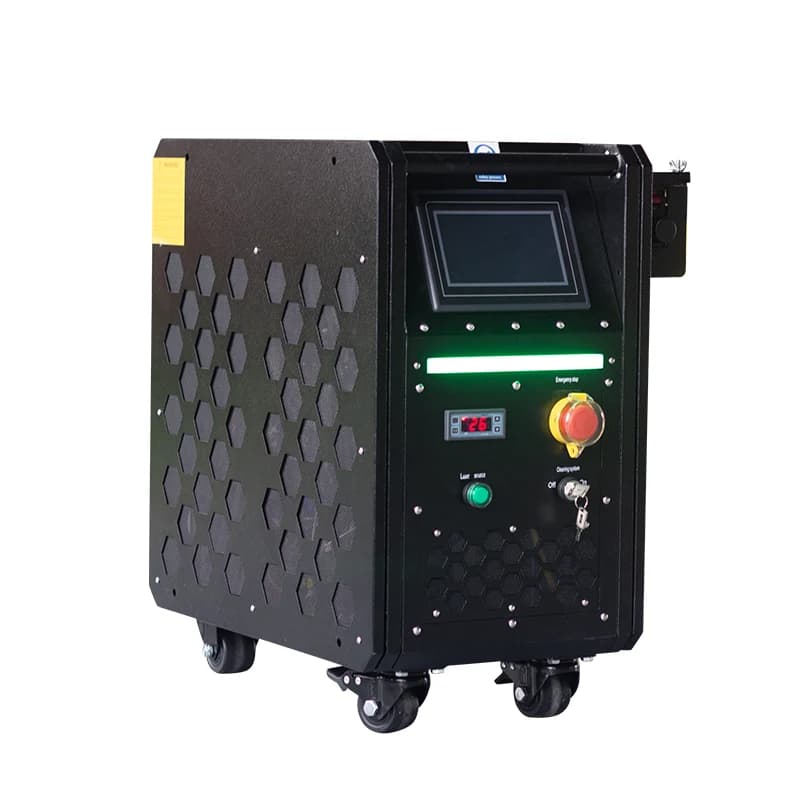
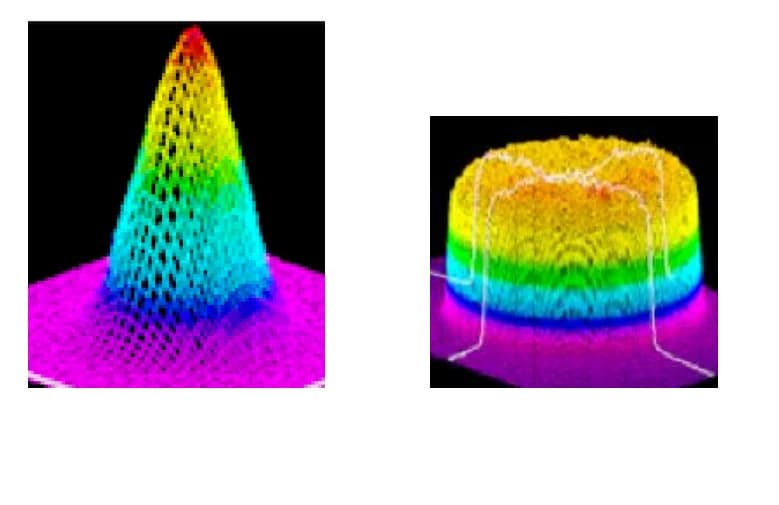
Ask for the machine model and the settings used for each test area. Depending on the system, useful records may include laser operating mode, power setting, pulse settings, scan width, travel speed, working distance and the number of passes. Keep the fixture position and handling method clear. Do not compare two clips as equivalent when one uses a narrow track or repeated passes and the other covers a larger area.
For an illustration of why settings deserve attention, see the existing JSY carbon-steel demonstration comparing pulse energies. Its visible result applies to the demonstrated setup; it is not a guaranteed processing rate for another material or coating.
Measure useful work over a complete cycle
Record the area treated and distinguish laser-on time from total handling time. Note repositioning, repeat passes, cleaning between stages and inspection. If a quoted rate excludes these steps, label it clearly before estimating daily output. Avoid extrapolating a small patch to an entire tank, curved component or production shift without checking the additional work.
Also document where removal becomes uneven. A test that identifies a limitation can be more valuable than a polished highlight clip. Ask whether the proposed configuration needs a different head, access arrangement or separate finishing step, and request another sample only when it answers a specific unresolved question.
Include extraction and operating conditions
Removed material must be managed. Include the proposed extraction arrangement, work-area controls, operator access and available utilities in the equipment discussion. Extraction and part handling are also identified as process-development considerations in Laserax's process-development overview. The appropriate controls depend on the laser system, work area and material being removed; a video is not an operating procedure.
Turn the results into a selection brief
Keep one short record containing the sample identity, before-and-after photographs, setup, measured cycle, acceptance result and unresolved limitations. Use it to compare JSY laser-cleaning equipment against the same requirement. A successful patch is the beginning of equipment selection, not a substitute for confirming the production process.
Discuss your application with JSY and include the material, surface layer, part photographs and required next operation. This helps the team discuss a suitable configuration and what evidence a sample evaluation should provide.